How to Compress Images Without Losing Quality (A Guide From Someone Who Learned the Hard Way)
Slow websites, blurry thumbnails, and way too many “why is this 8MB?” moments here’s everything that actually works, including the fastest free tool to get it done right now.
A couple of years back, I launched a small portfolio site for my photography work. Spent weeks getting the layout just right, writing the copy, obsessing over fonts. Then I pushed it live and waited.
The first piece of feedback I got was from a friend on his phone: “Dude, why does it take like 20 seconds to load?”
The culprit? I had uploaded full-resolution JPEGs straight from my camera. Some were 15MB each. My homepage alone was pulling in over 60MB of images. Google PageSpeed scored it a 12 out of 100. Twelve. I wanted to delete the whole thing.
That embarrassing moment sent me down a deep rabbit hole into image compression and honestly, I haven’t stopped thinking about it since. If you’re building a website, uploading product photos, or just trying to reduce image file size online before sharing, this guide covers everything I wish someone had told me.
Skip the setup compress your image right now
Fignit’s free image compressor shrinks JPEGs, PNGs, and WebPs in seconds no account, no install, no nonsense.Use Fignit Image Compressor
First What Does “Compressing Without Losing Quality” Actually Mean?
Here’s the thing most people get wrong: they assume compression always means degradation. That’s not quite right. There are actually two types of compression:
Lossy compression removes some image data permanently. Done well, the human eye can barely tell. Done badly, you get that “muddy JPEG” look blocky artifacts, smeared edges, dull colors.
Lossless compression reorganizes the file data more efficiently without removing anything. The image looks pixel-identical to the original, but the file is smaller because the data is stored smarter.
For most real-world use website photos, product images, blog thumbnails a well-tuned lossy compression at 75–85% quality is genuinely undetectable to most viewers and can cut file sizes by 60–80%. That’s the sweet spot I aim for every time. Tools like Fignit’s image compressor hit this balance automatically, so you don’t have to fiddle with sliders.
“The goal isn’t to make the image small. It’s to make it exactly as small as it can be without the viewer noticing.”

Choose the Right Format Before You Even Compress
This was my second big lesson. I was so fixated on compression settings that I ignored the most impactful decision: the file format itself. The Google Web Performance documentation is pretty emphatic about this format choice can matter more than compression level.
| Format | Best for | Compression | Watch out for |
|---|---|---|---|
| JPEG/JPG | Photos, complex images | Excellent lossy compression | Each re-save degrades quality |
| PNG | Graphics, logos, transparency | Lossless only larger files | Huge for photos; avoid |
| WebP | Web use (photos + graphics) | ~30% smaller than JPEG/PNG | Limited in old email clients |
| AVIF | Next-gen web images | ~50% smaller than JPEG | Slower to encode; browser varies |
| SVG | Icons, logos, illustrations | Scales infinitely, tiny files | Only for vector art |
My current rule: photos and hero images go WebP. PNGs only when I need transparency. SVG for any icon or logo. If you’re still using PNG for every image on your website, that’s probably your biggest opportunity for savings right there.
The Tools I Actually Use (And Some I Tried and Dropped)
I’ve tried a lot. Here are the ones that stuck with one clear winner at the top:
⭐ Recommended
Free, browser-based, zero install. Handles JPEG, PNG, and WebP. Fast compression with quality you can actually see before downloading. My first recommendation for anyone who asks.
Free
Google’s tool. Great side-by-side preview. Supports WebP and AVIF. Good for power users who want control over every setting.
Free
Drag and drop, instant results. Great for quick batches up to 20 files at once. Simple but effective.
Free+
ImageOptim
Mac desktop app. Drag a folder, it handles everything silently. Excellent for bulk processing before uploading to a CMS.
Free+
ShortPixel
WordPress plugin + API. Automatically compresses on upload. Has saved me hours on client sites.
Dev
Sharp (Node.js)
For build pipelines. Blazing fast. Converts, resizes, and compresses programmatically.
For most people, Fignit is the fastest path from “I have a big image” to “this is now web-ready.” No account needed, works on any device, and you get a proper compressed file back in seconds. It’s the tool I point people to first, every time.
Step-by-Step: Compress Images for a Website the Right Way
Here’s the process I follow for every project. It takes about 2 minutes once you have the habit:
- 1Resize before you compress. There’s no point compressing a 4000px wide image if it’s displayed at 800px. Scale it down to the actual display size first. This alone can shrink file size by 80% before you touch any compression setting.
- 2Pick the right format. Photo? Use WebP or JPEG. Graphic with transparency? PNG. Logo or icon? SVG if possible. When in doubt, JPEG for photos is always a safe bet.
- 3Head to fignit.com/image-compressor. Drop your image in. Fignit automatically applies smart compression you see the before/after file size instantly and can download when you’re happy.
- 4Check the file size. For a full-width hero image (1400px wide), aim for under 150KB. Thumbnails and card images should be under 50KB. These are good targets, not hard rules.
- 5Strip metadata. Camera files include GPS location, device info, and timestamps. This adds file size and exposes info you probably don’t want public. Fignit handles this automatically during compression.
- 6Add lazy loading on your site. Add
loading="lazy"to your img tags. The browser only loads images as the user scrolls to them huge win for perceived performance on long pages.
Try it on your next image it takes 10 seconds
Upload any JPEG, PNG, or WebP to Fignit and get a compressed, web-ready file instantly. Free, no login required.Compress My Image on Fignit
Reducing Image File Size Online: For Non-Website Use Too
Not everything is a website. Sometimes you’re emailing attachments, sharing on WhatsApp, uploading to a form that has a file size limit, or archiving a folder without losing the originals.
For emailing photos, shoot for 1–2MB per image at most. Most people view photos in Gmail or Outlook on a 15-inch screen they don’t need 6000px resolution. Resize to around 1500px wide, compress to 80% quality. Clean, fast, still looks great.
For bulk folders, ImageOptim on Mac or FileOptimizer on Windows will batch-process an entire folder while you make tea. Both are free.
And for one-off quick compressions uploading a profile photo, sending a document attachment, shrinking a screenshot just use Fignit’s image compressor. It’s faster than opening any desktop app and works on your phone too.
Mistakes I Made (So You Don’t Have To)
Common mistakes to avoid
- Compressing the same JPEG multiple times each pass degrades quality; always work from the original
- Using PNG for photos a photo saved as PNG can be 5x larger than the same image as WebP or JPEG
- Compressing logos at lossy quality logos have sharp edges that get blocky; use SVG or lossless PNG
- Forgetting to resize first compressing a 4000px image at 80% quality still gives you a large file; resize, then compress
- Setting quality too low going below 60% on JPEG or WebP starts to show visible artifacts, especially on skin tones
- Ignoring width and height attributes on img tags unrelated to compression but causes layout shifts that feel like slow loading
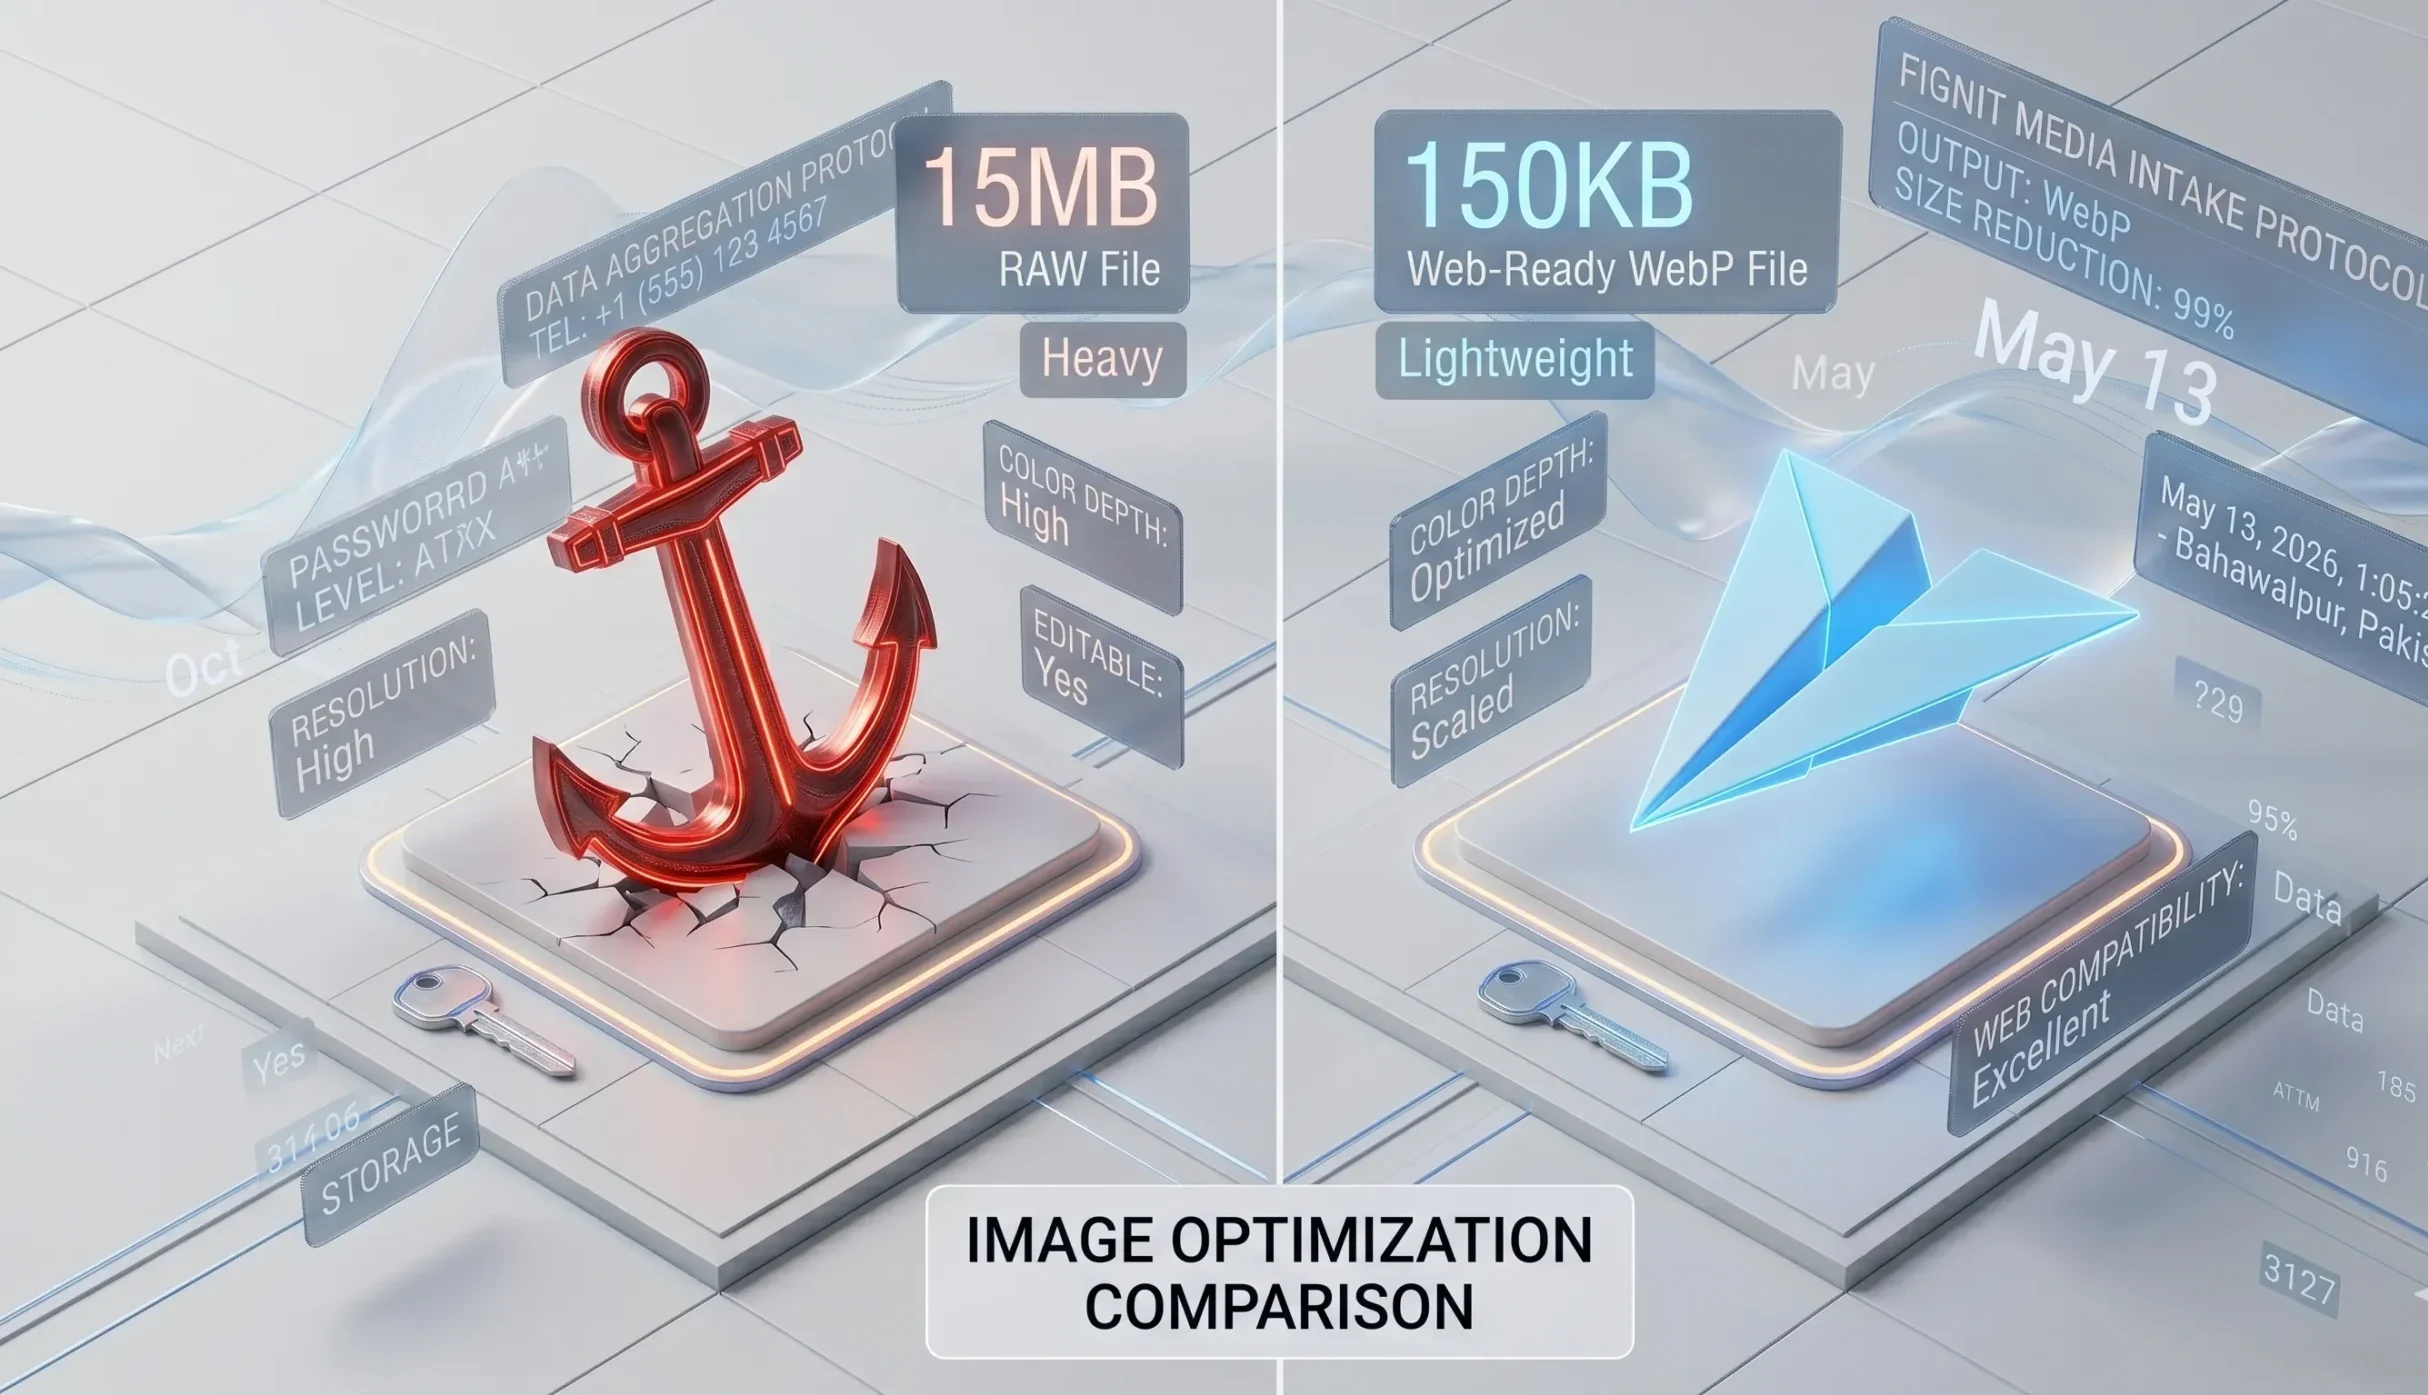
A Real Example: Before vs After
To make this concrete a recent client project, a small e-commerce shop selling handmade ceramics. They had 45 product photos, all shot on a mirrorless camera. Average file size: 9.4MB each. Total: roughly 423MB. Their site was timing out on mobile connections across South Asia.
- →Resized all images to 1200px wide (the max their layout displayed)
- →Converted from JPEG to WebP
- →Set quality to 82% visually identical to originals at this level
- →Stripped EXIF metadata (GPS, camera model, etc.)
Result: average file size dropped from 9.4MB to 140KB. A 98.5% reduction. The images looked identical on product pages. Mobile load time went from ~18 seconds to under 2 seconds. Google PageSpeed went from 34 to 91.
The client was floored. Nothing visually changed the site just suddenly worked. You can replicate the same result today using Fignit’s free tool for individual images or small batches.
Pro tips worth bookmarking
- Use srcset in HTML to serve different image sizes to different screen sizes mobile gets a smaller file automatically
- Run Google PageSpeed Insights on your site it flags exactly which images are the problem and estimates potential savings
- For Shopify or WooCommerce, image compression plugins often pay for themselves in reduced bounce rate alone
- Always keep original, uncompressed masters in a backup folder you’ll need them when you want a different size later
- Bookmark fignit.com/image-compressor having it one click away means you’ll actually use it every time, not just occasionally
One More Thing Nobody Talks About: Image CDNs
If you’re managing lots of images especially on a CMS or e-commerce platform consider an image CDN like Cloudinary or Bunny.net. These store your original high-quality images and serve automatically optimized versions based on the viewer’s device, browser, and connection speed.
You upload once. They handle format conversion, compression, and resizing on the fly. For any site with hundreds of images, it’s a genuinely life-changing workflow shift. Cloudinary has a free tier that’s generous enough for most small projects.
But for anything outside a full CDN setup a single landing page, a blog post, a product photo, an email attachment Fignit’s image compressor is the fastest path to a smaller, web-ready file without any configuration or cost.
Ready to fix your images right now?
Compress your first image on Fignit in under 30 seconds free, no signup, works on desktop and mobile. Your site’s load time will thank you.Start Compressing on Fignit.com
Getting your images right right size, right format, right compression is one of the highest-leverage things you can do for a website. It affects load time, SEO, bounce rate, and the general feeling of quality that visitors pick up on even when they can’t articulate it.
Start with one image. Resize it. Drop it into Fignit. See the difference. Once you do it once, you’ll never upload a raw camera file to a website again.
Future you will be very glad.
Tried Fignit or any of these tools? Hit a weird edge case a PNG that compressed beautifully, or a WebP that looked terrible? Drop it in the comments. I read them all.